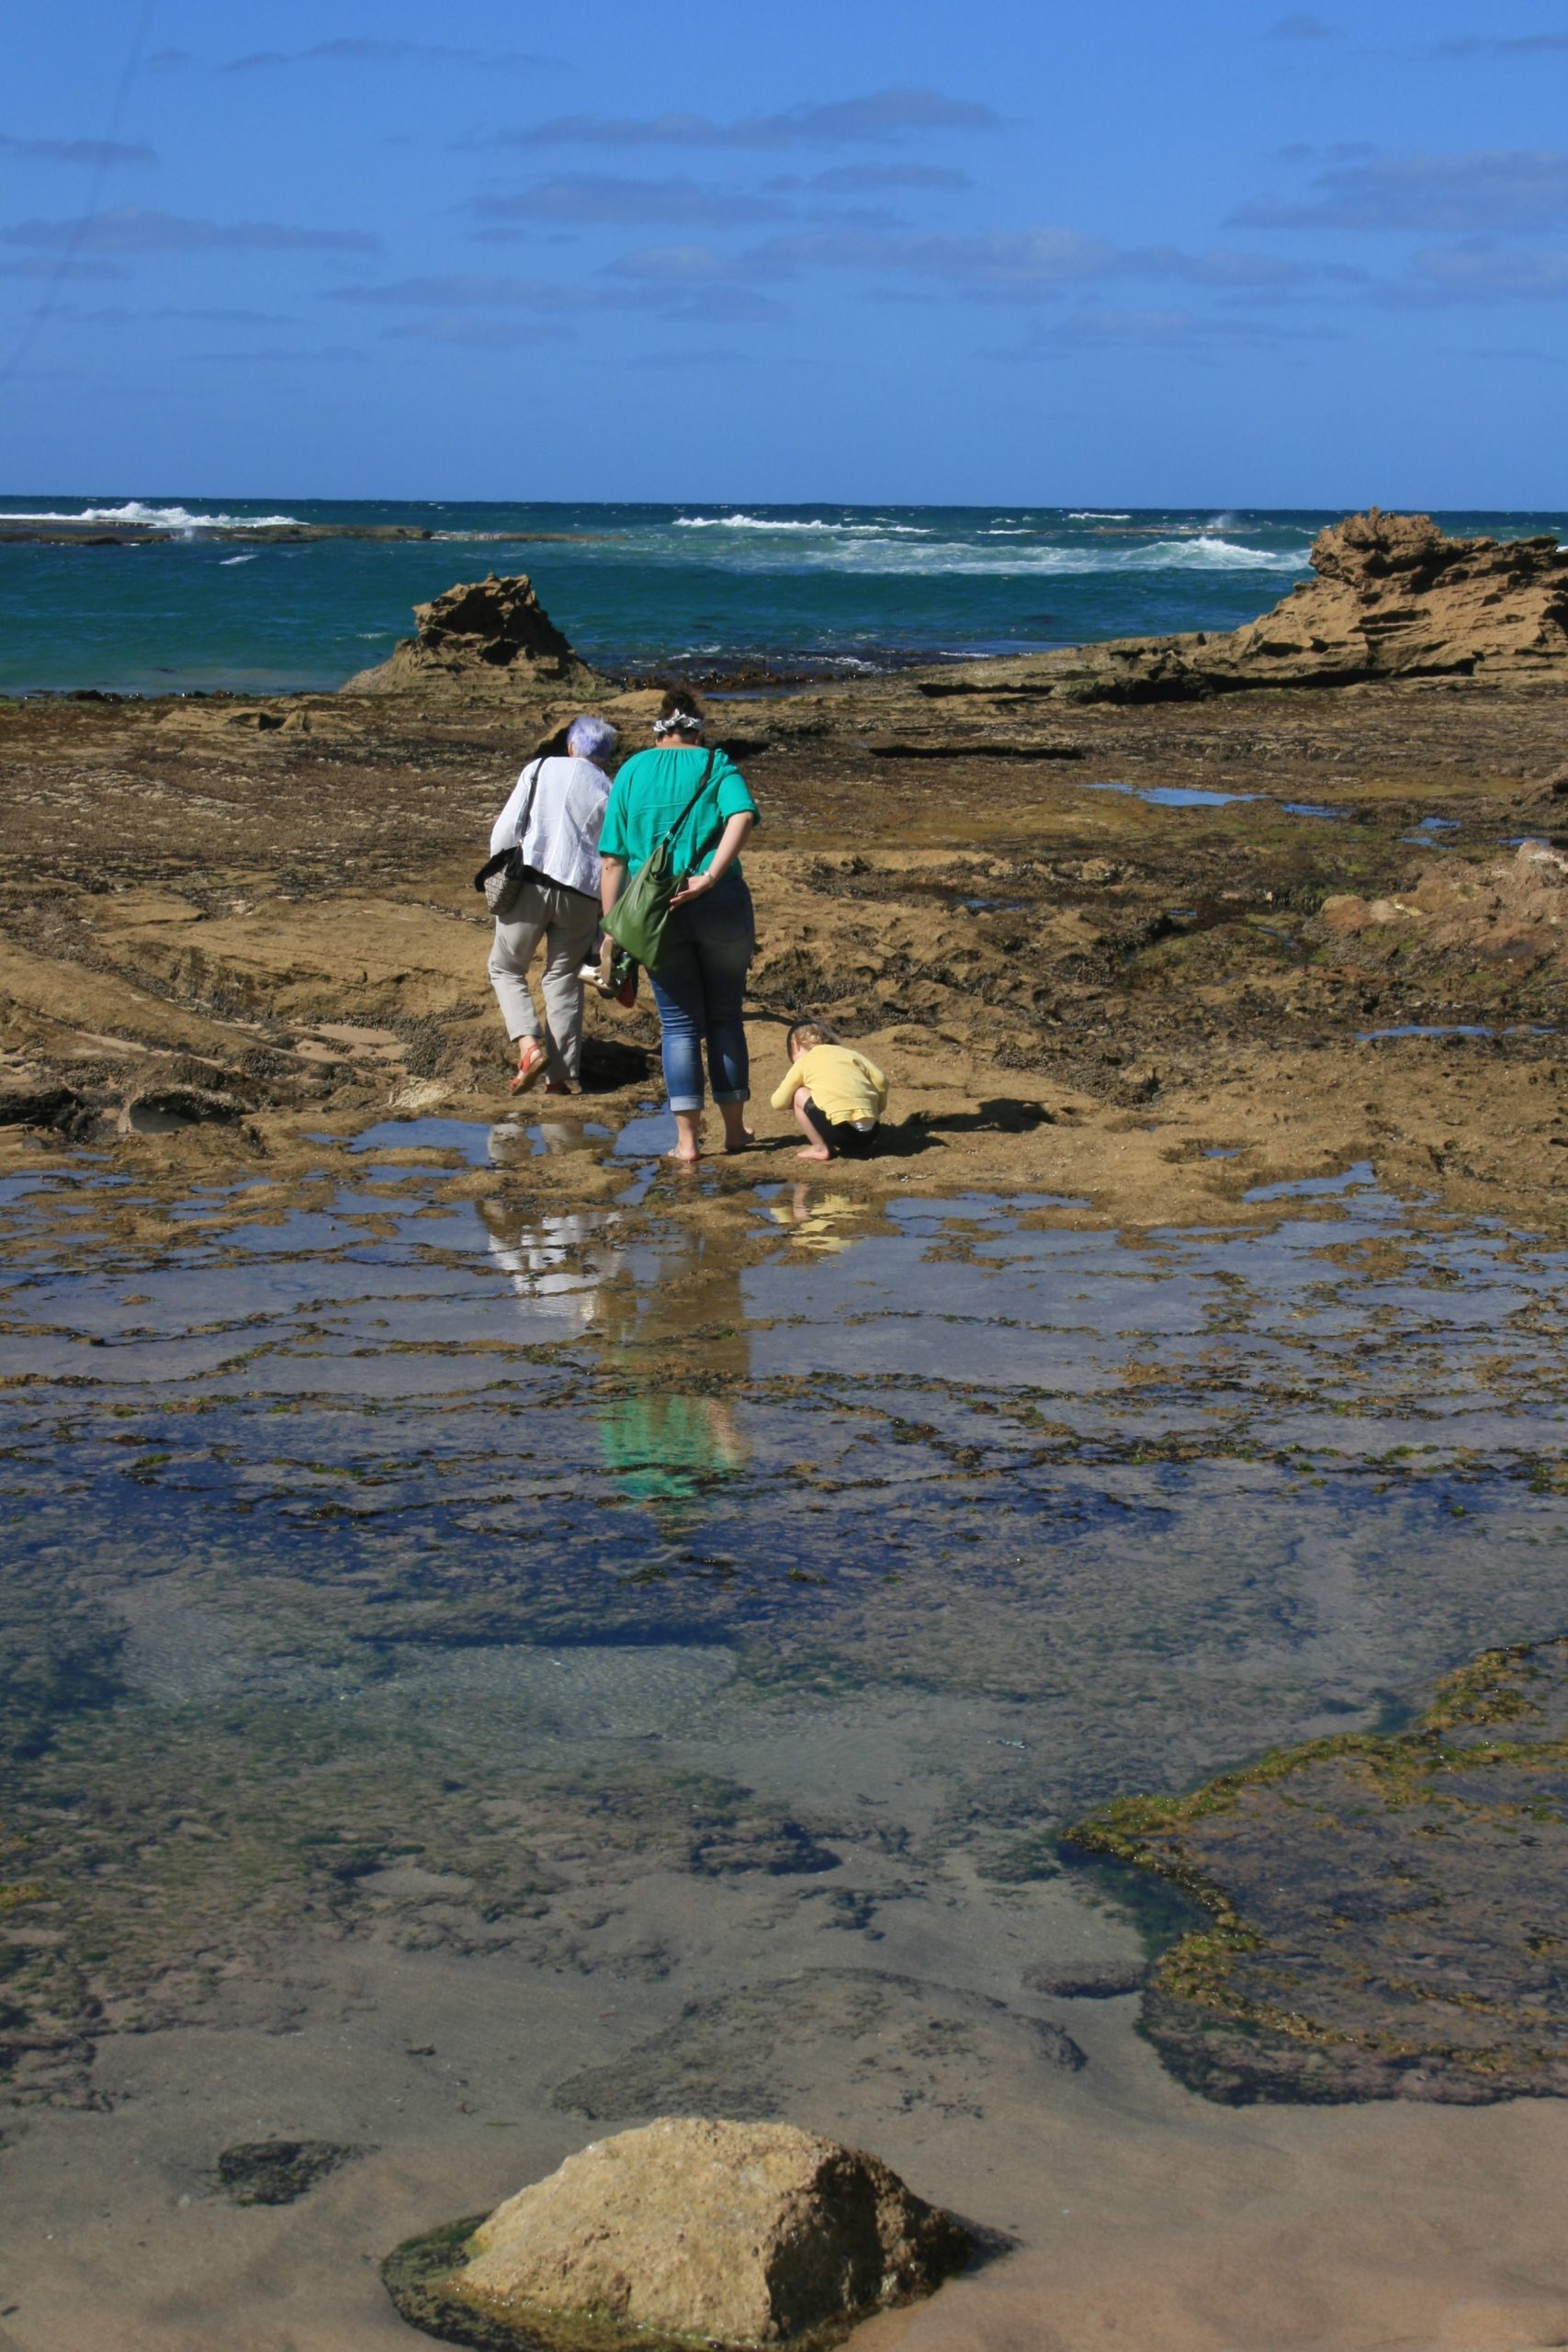
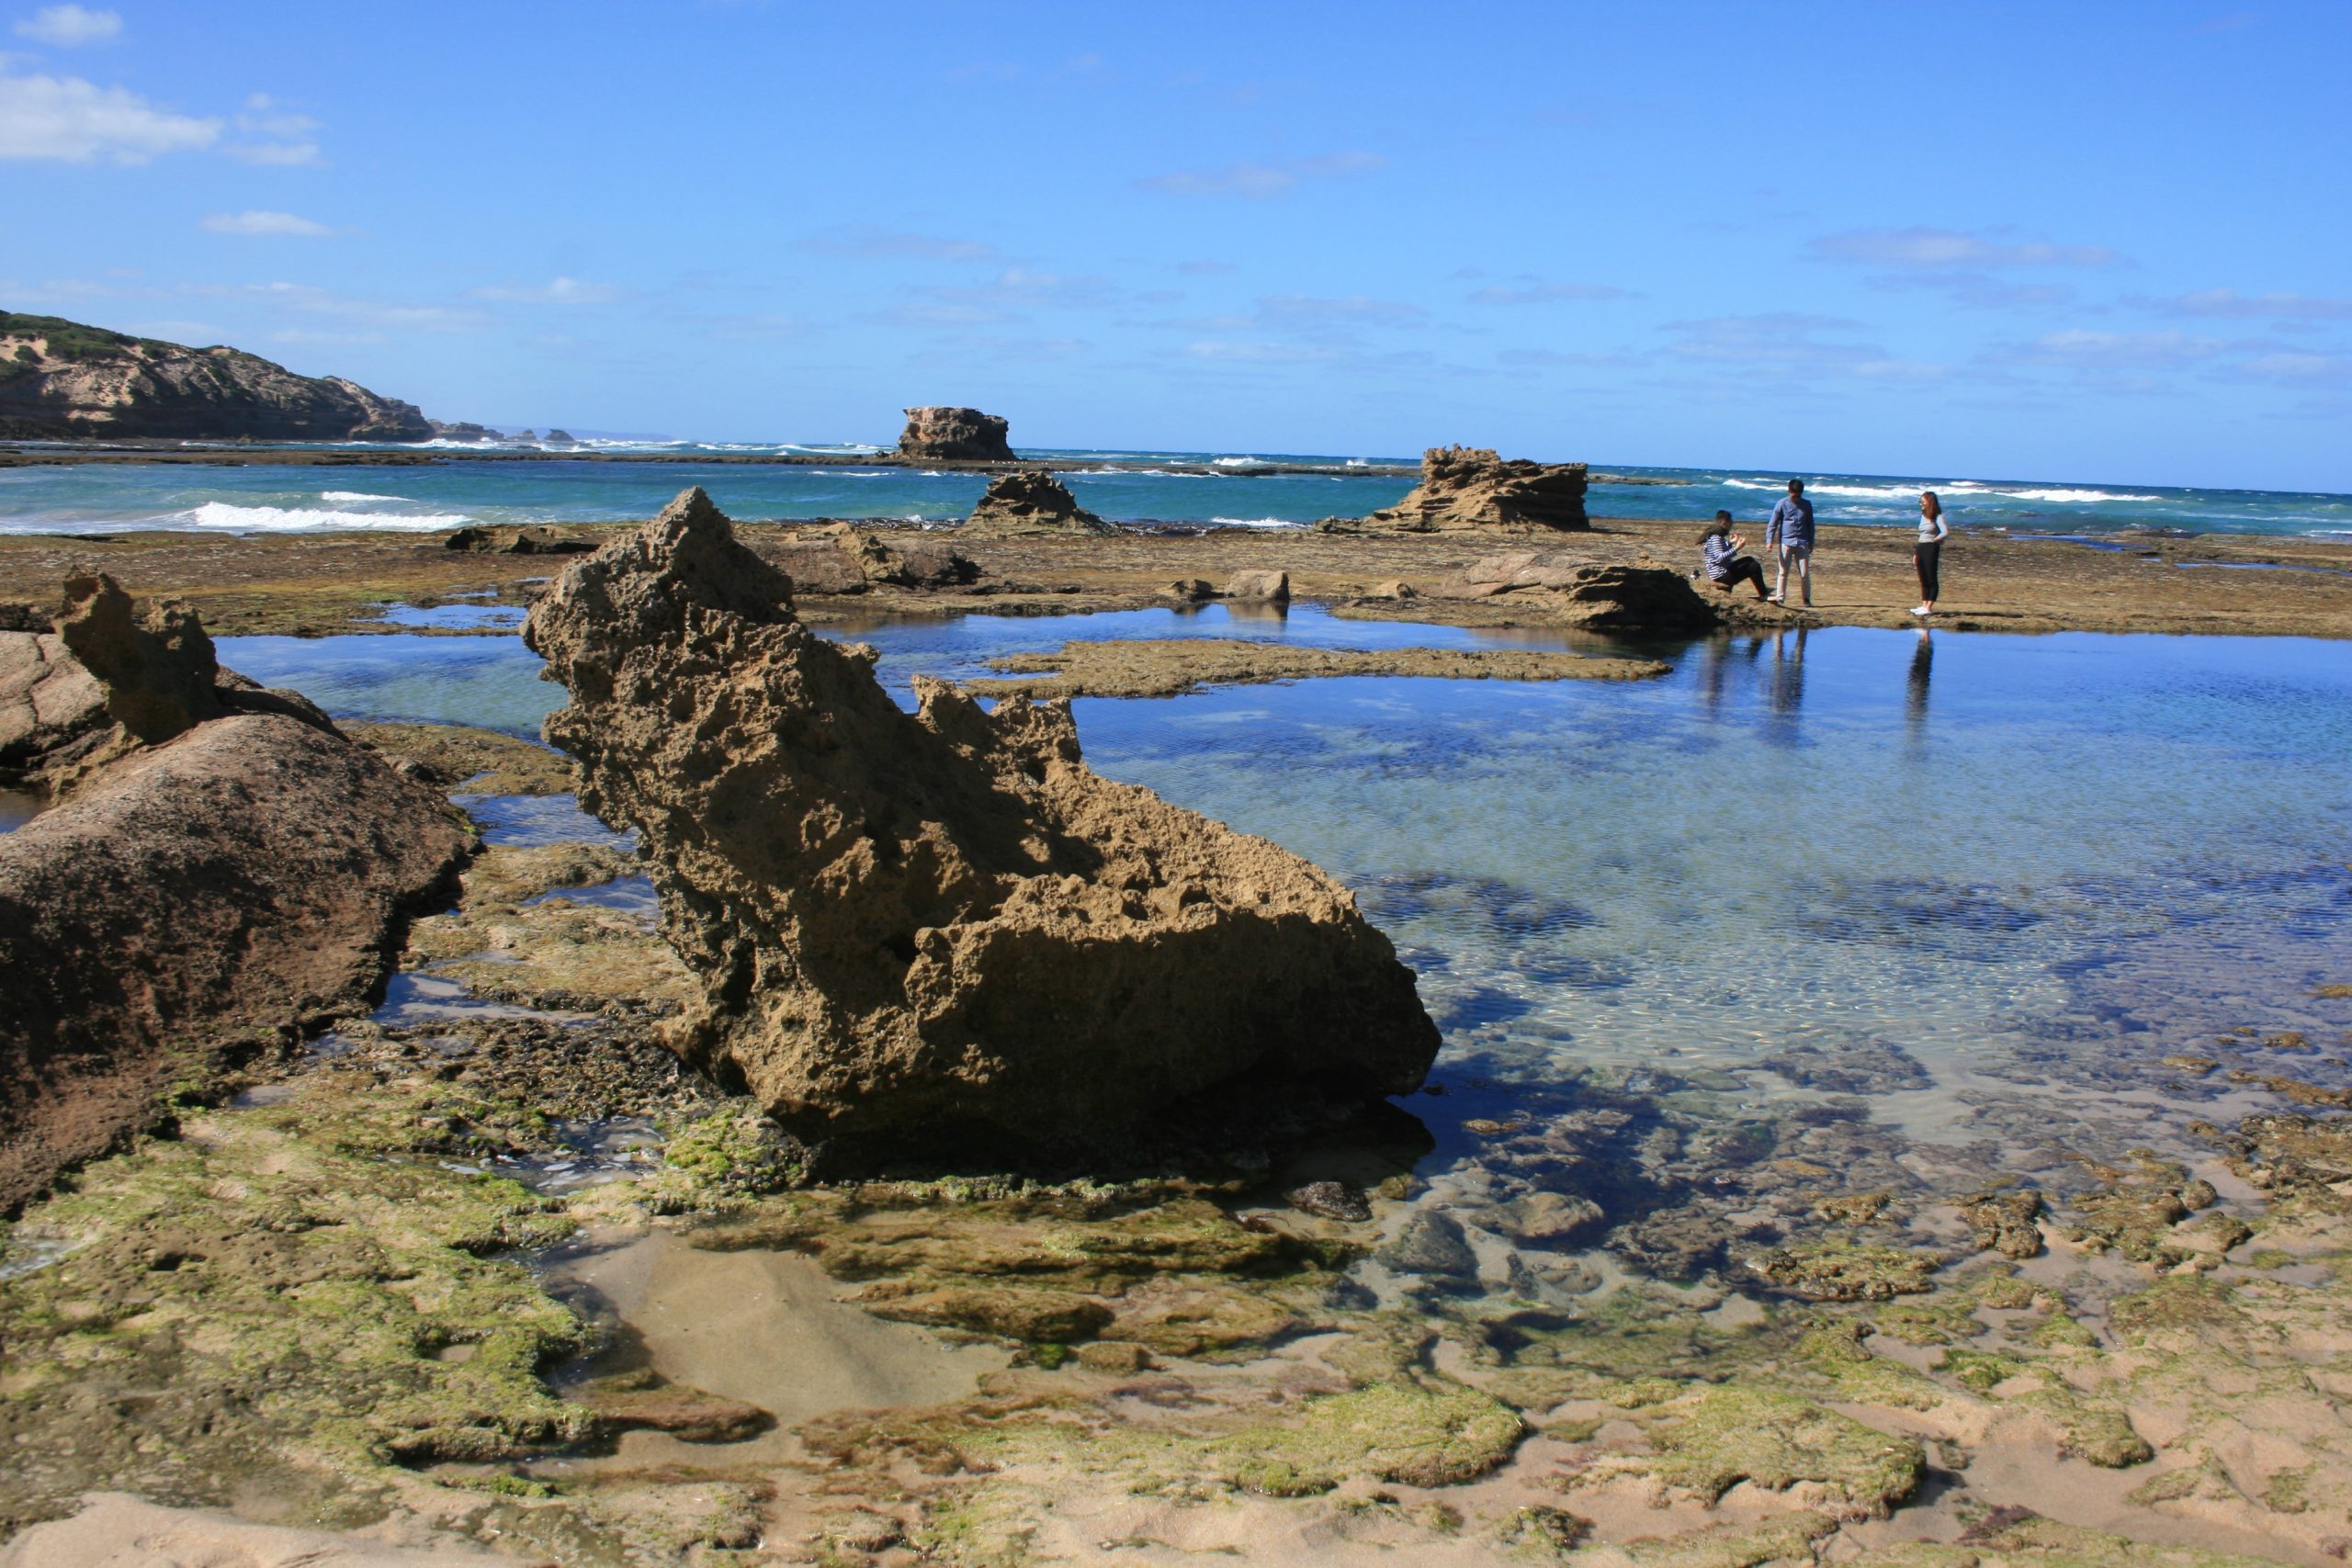
If you would like to use this photo images, please Copy, Paste onto a Word document and then Print out.
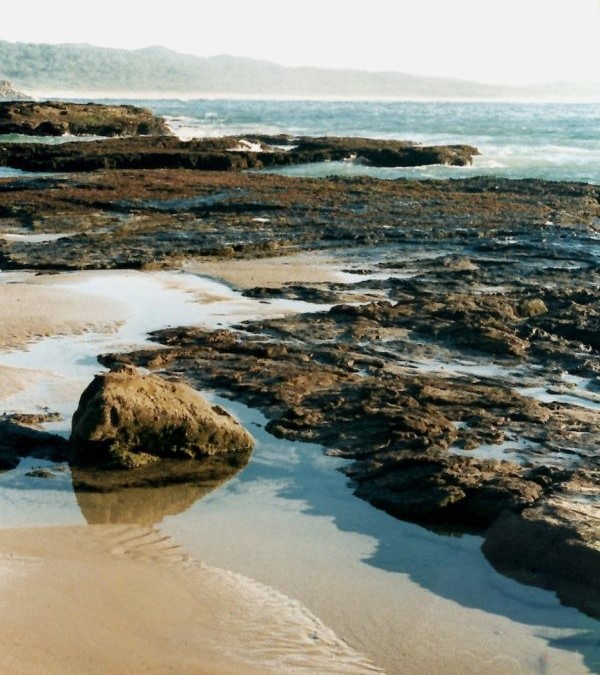
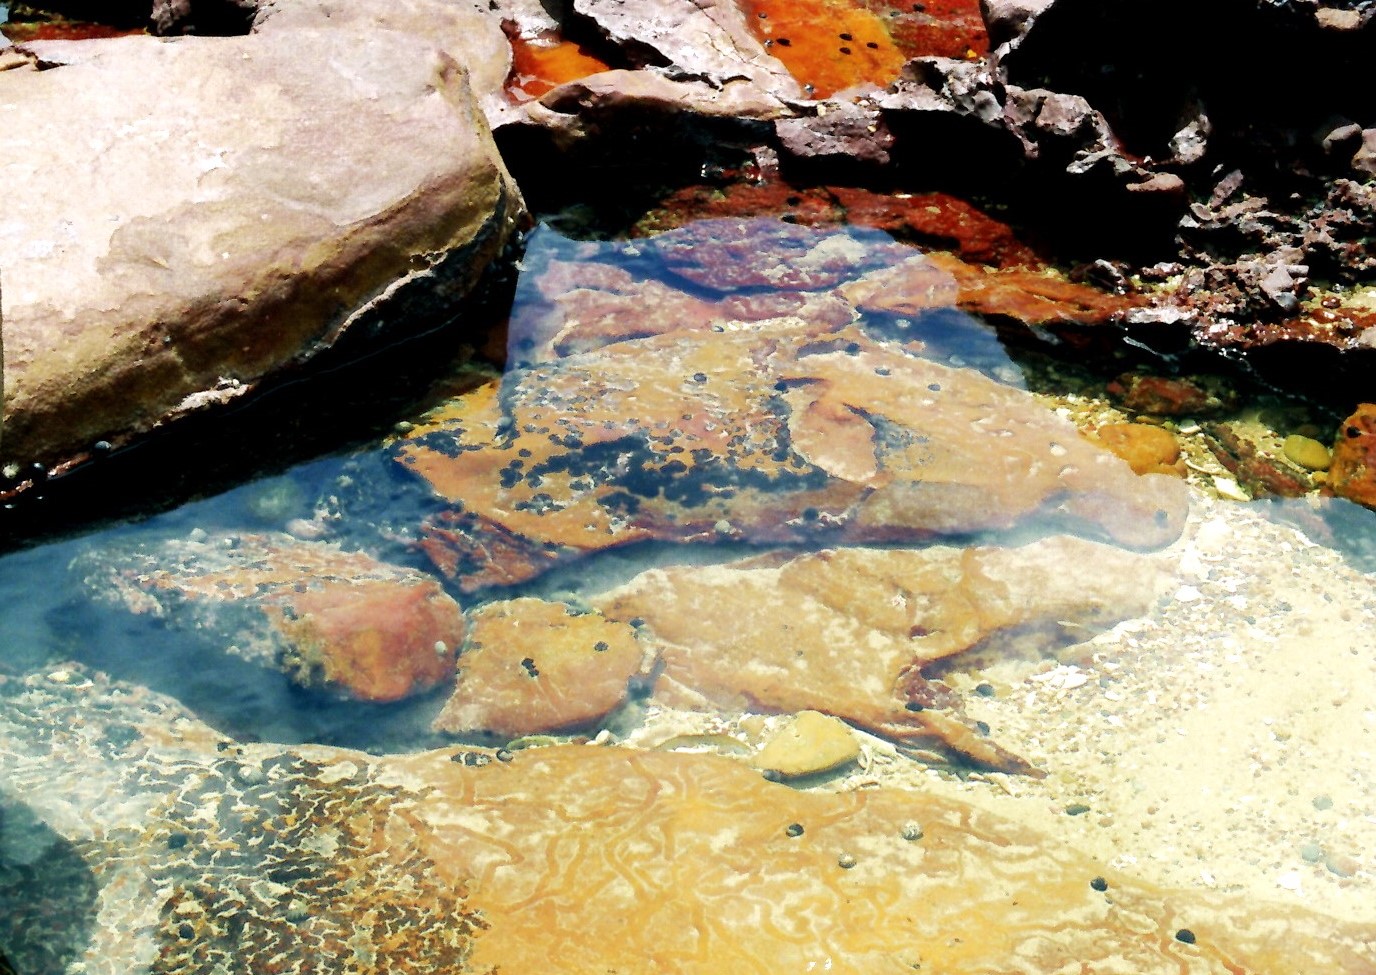
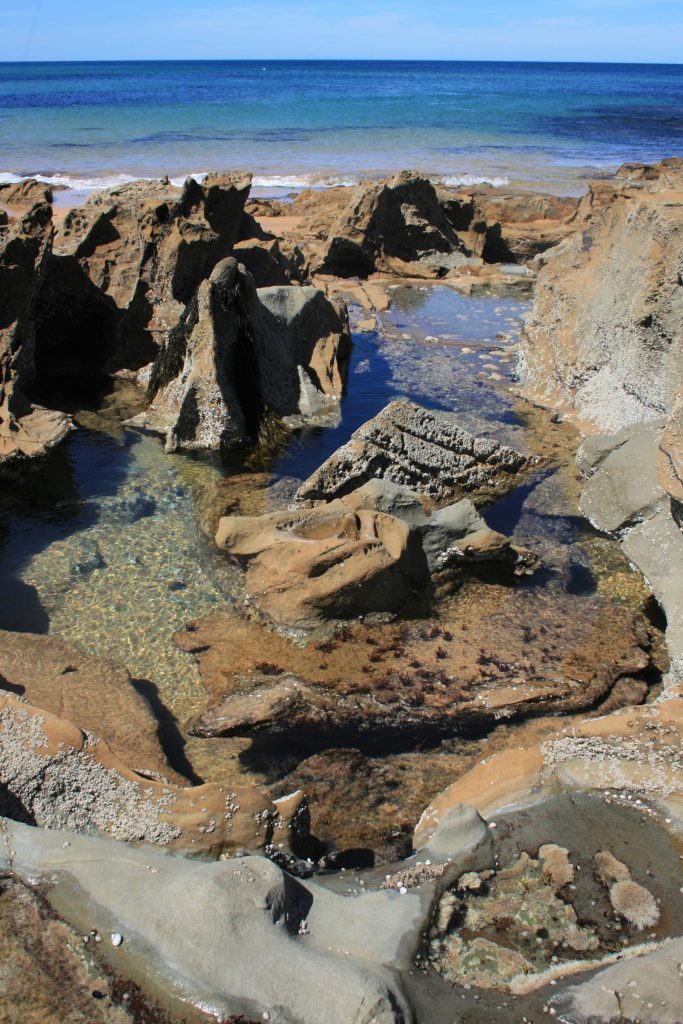
C 6 Welcome to Rockpools and Reflections.
COURSE 6 ROCKPOOLS – SHADOWS AND REFLECTIONS
INTRODUCTION
In this course that comprises 5 lessons and has approx. 10 hours, of Video demonstrations you will receive in depth Watercolour tuition on how to tackle Rockpools. You will be shown by full demonstration from start to finish, all the colours and colour mixing for every individual area of the subject I am painting. This includes what brush is best to use and how to apply the paint for a particular section. You will learn how to paint the reflections and the shadows for each subject. I explain everything as I am demonstrating along with the colour mixing, so that you will be able to take your watercolours of to another level and gain more confidence with every application. You can stop and start wherever you wish, and then come back when your ready. With 12 months access you will gain so much knowledge of every aspect of the watercolour wet in wet method and how to master this fascinating subject. HAPPY PAINTING!
SUGGESTED MATERIAL LIST
You will need 3 x ½ sheet rough 300gsm paper, I am using Baohong rough, and if you are not using an already stretched block, you will need a backing board to tape your paper to. I suggest a piece of Coreflute or Gater board, both are exceptionally light weight.
Colours I have used are Daniel Smith colours: Quinacridone Burnt Scarlet, Raw Sienna, Sepia, Aureolin, Quinacridone Coral, Manganese Blue Hue, French Ultramarine and either Titanium white or WN Designer Gouache white.
Brushes: I use my signature Mop Brush 554 Neef size 2, 0, 00, Escoda Synthetic round size 4 and 6. Neef Needlepoint 4400 size 6.
Other: A decent size lidded Palette with at least 5 mixing wells. 2B Mechanical pencil, ½ an old credit card ( for scratching out),Ruler, Fine mist Water spray bottle,2 or 3 Water buckets, cheap box tissues, A couple of pieces of test paper, to check your mixes before placing on your painting, A large bath towel to lay under your easel and art gear, plus some old tea towels and an old hard toothbrush to use for spatter.
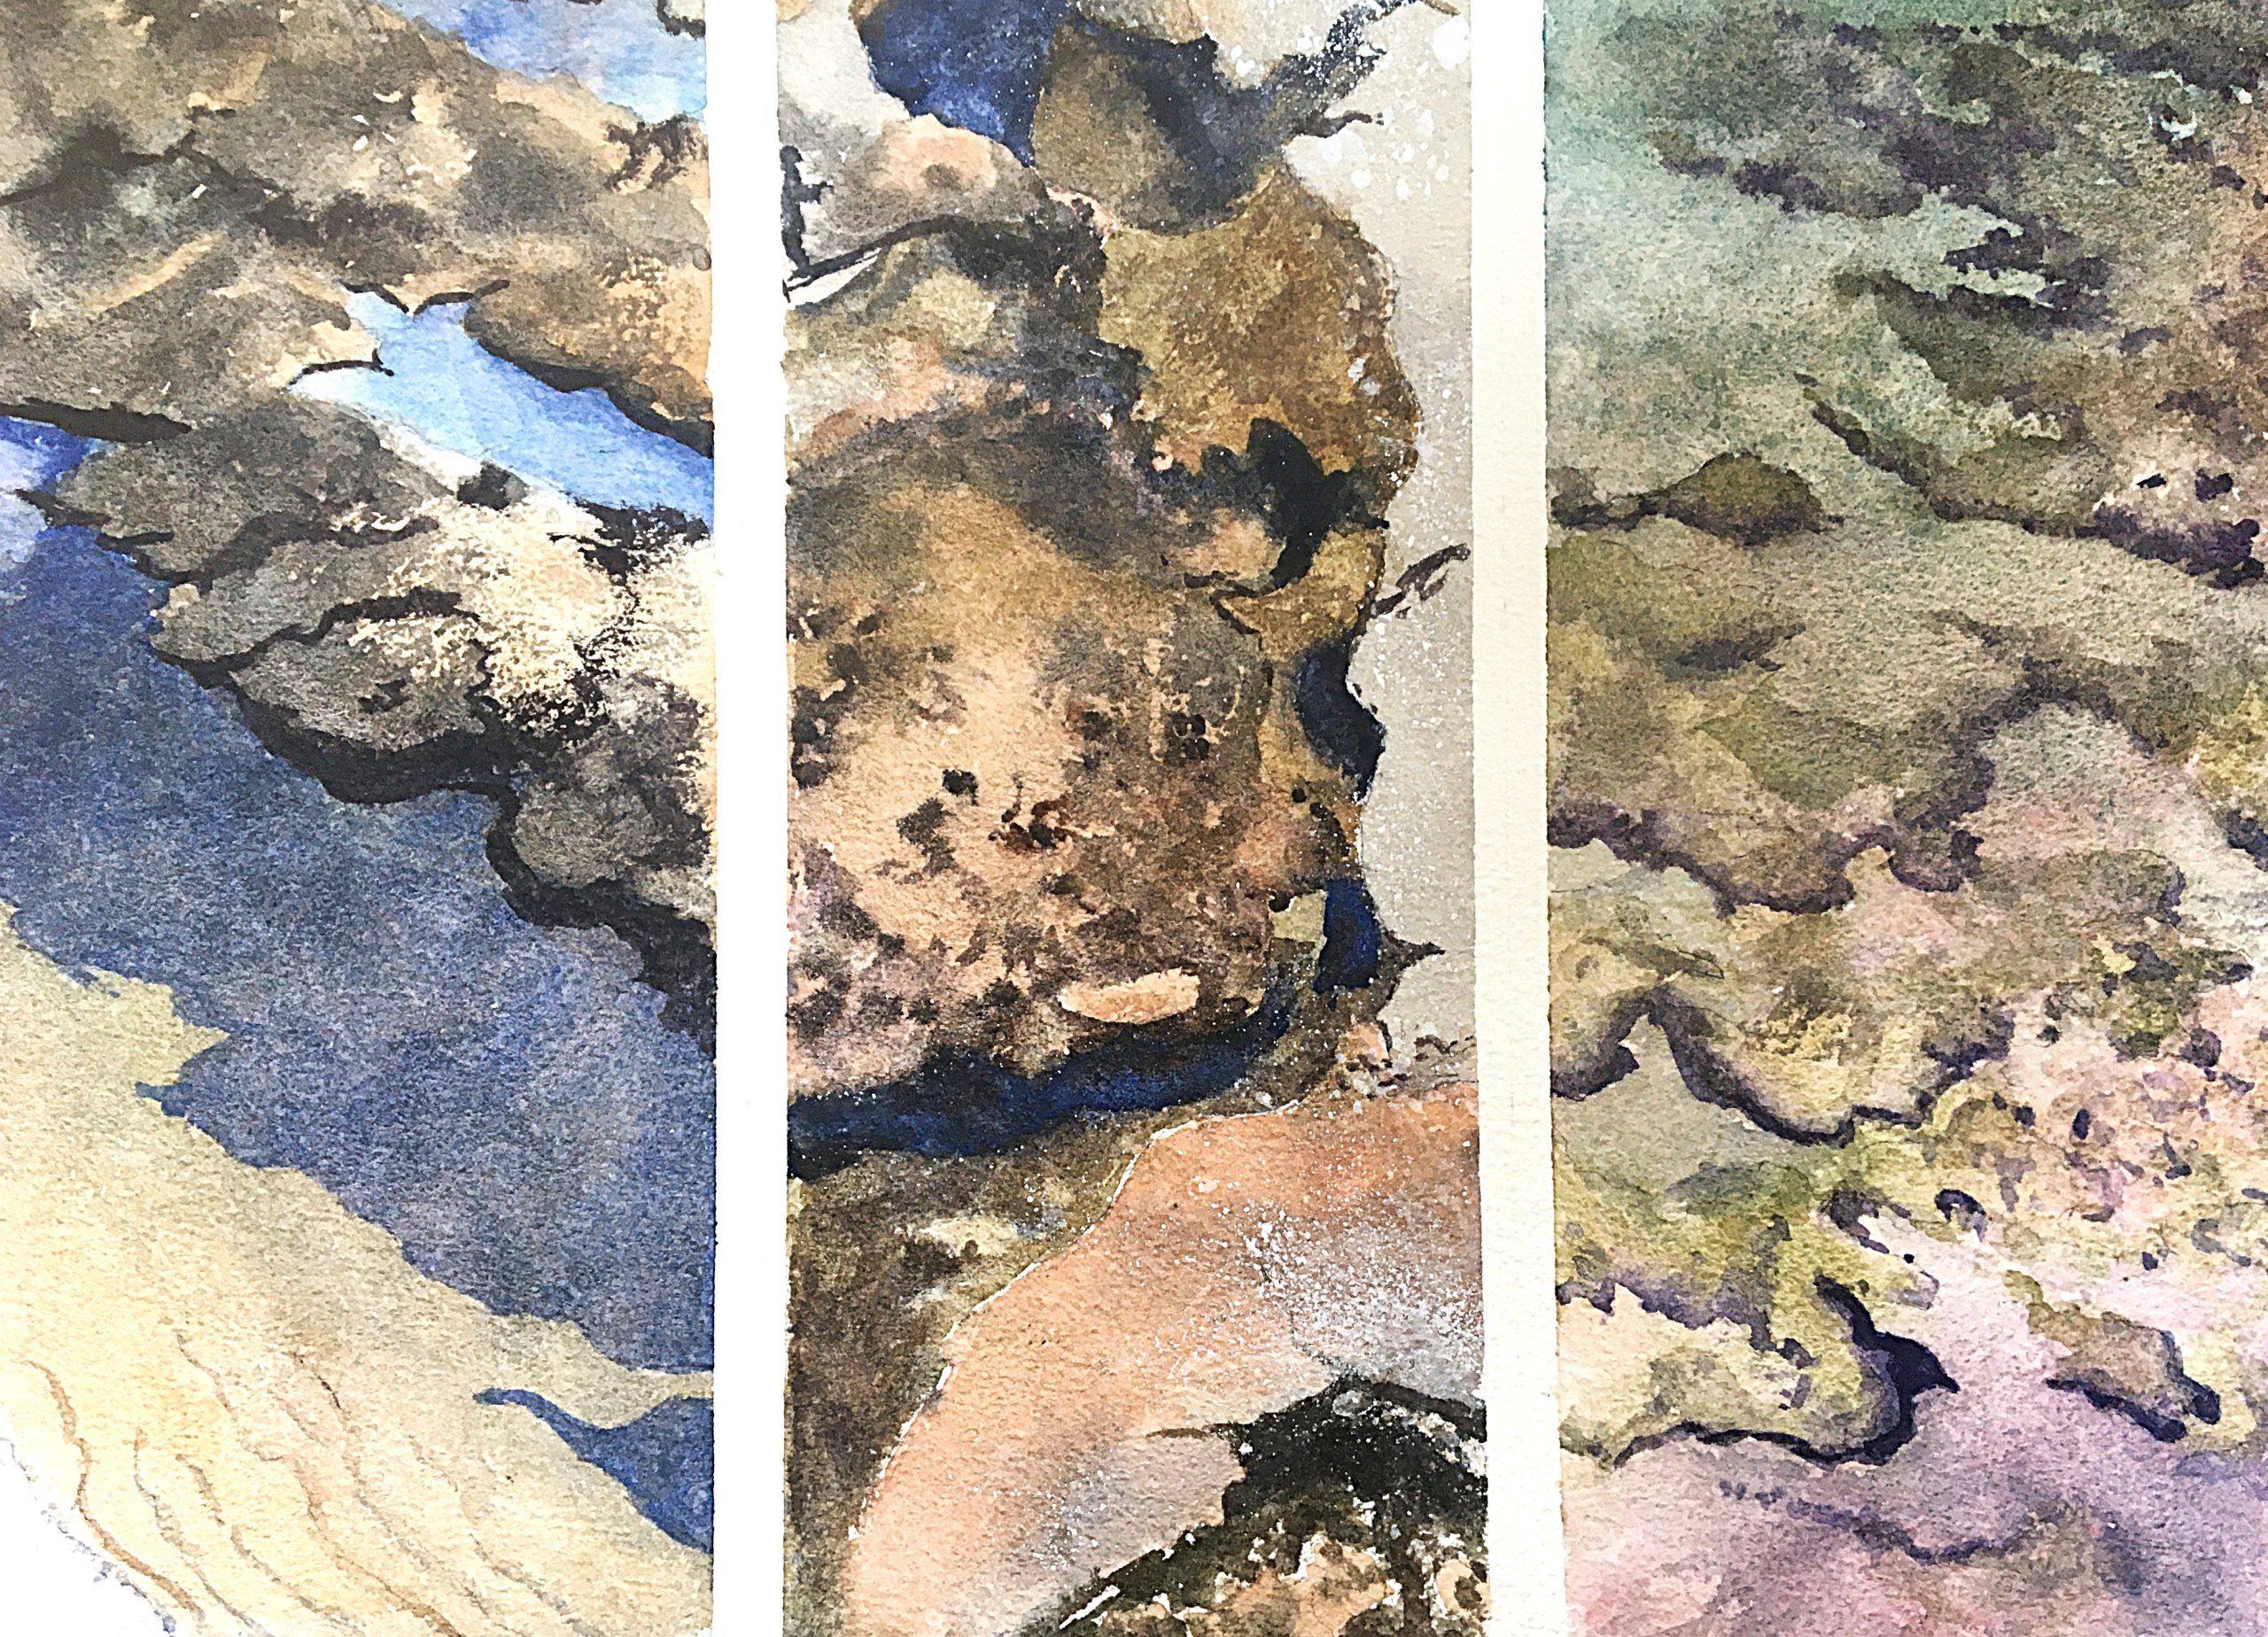
C 6 Part 1 Rockpools - Shadows and Reflections
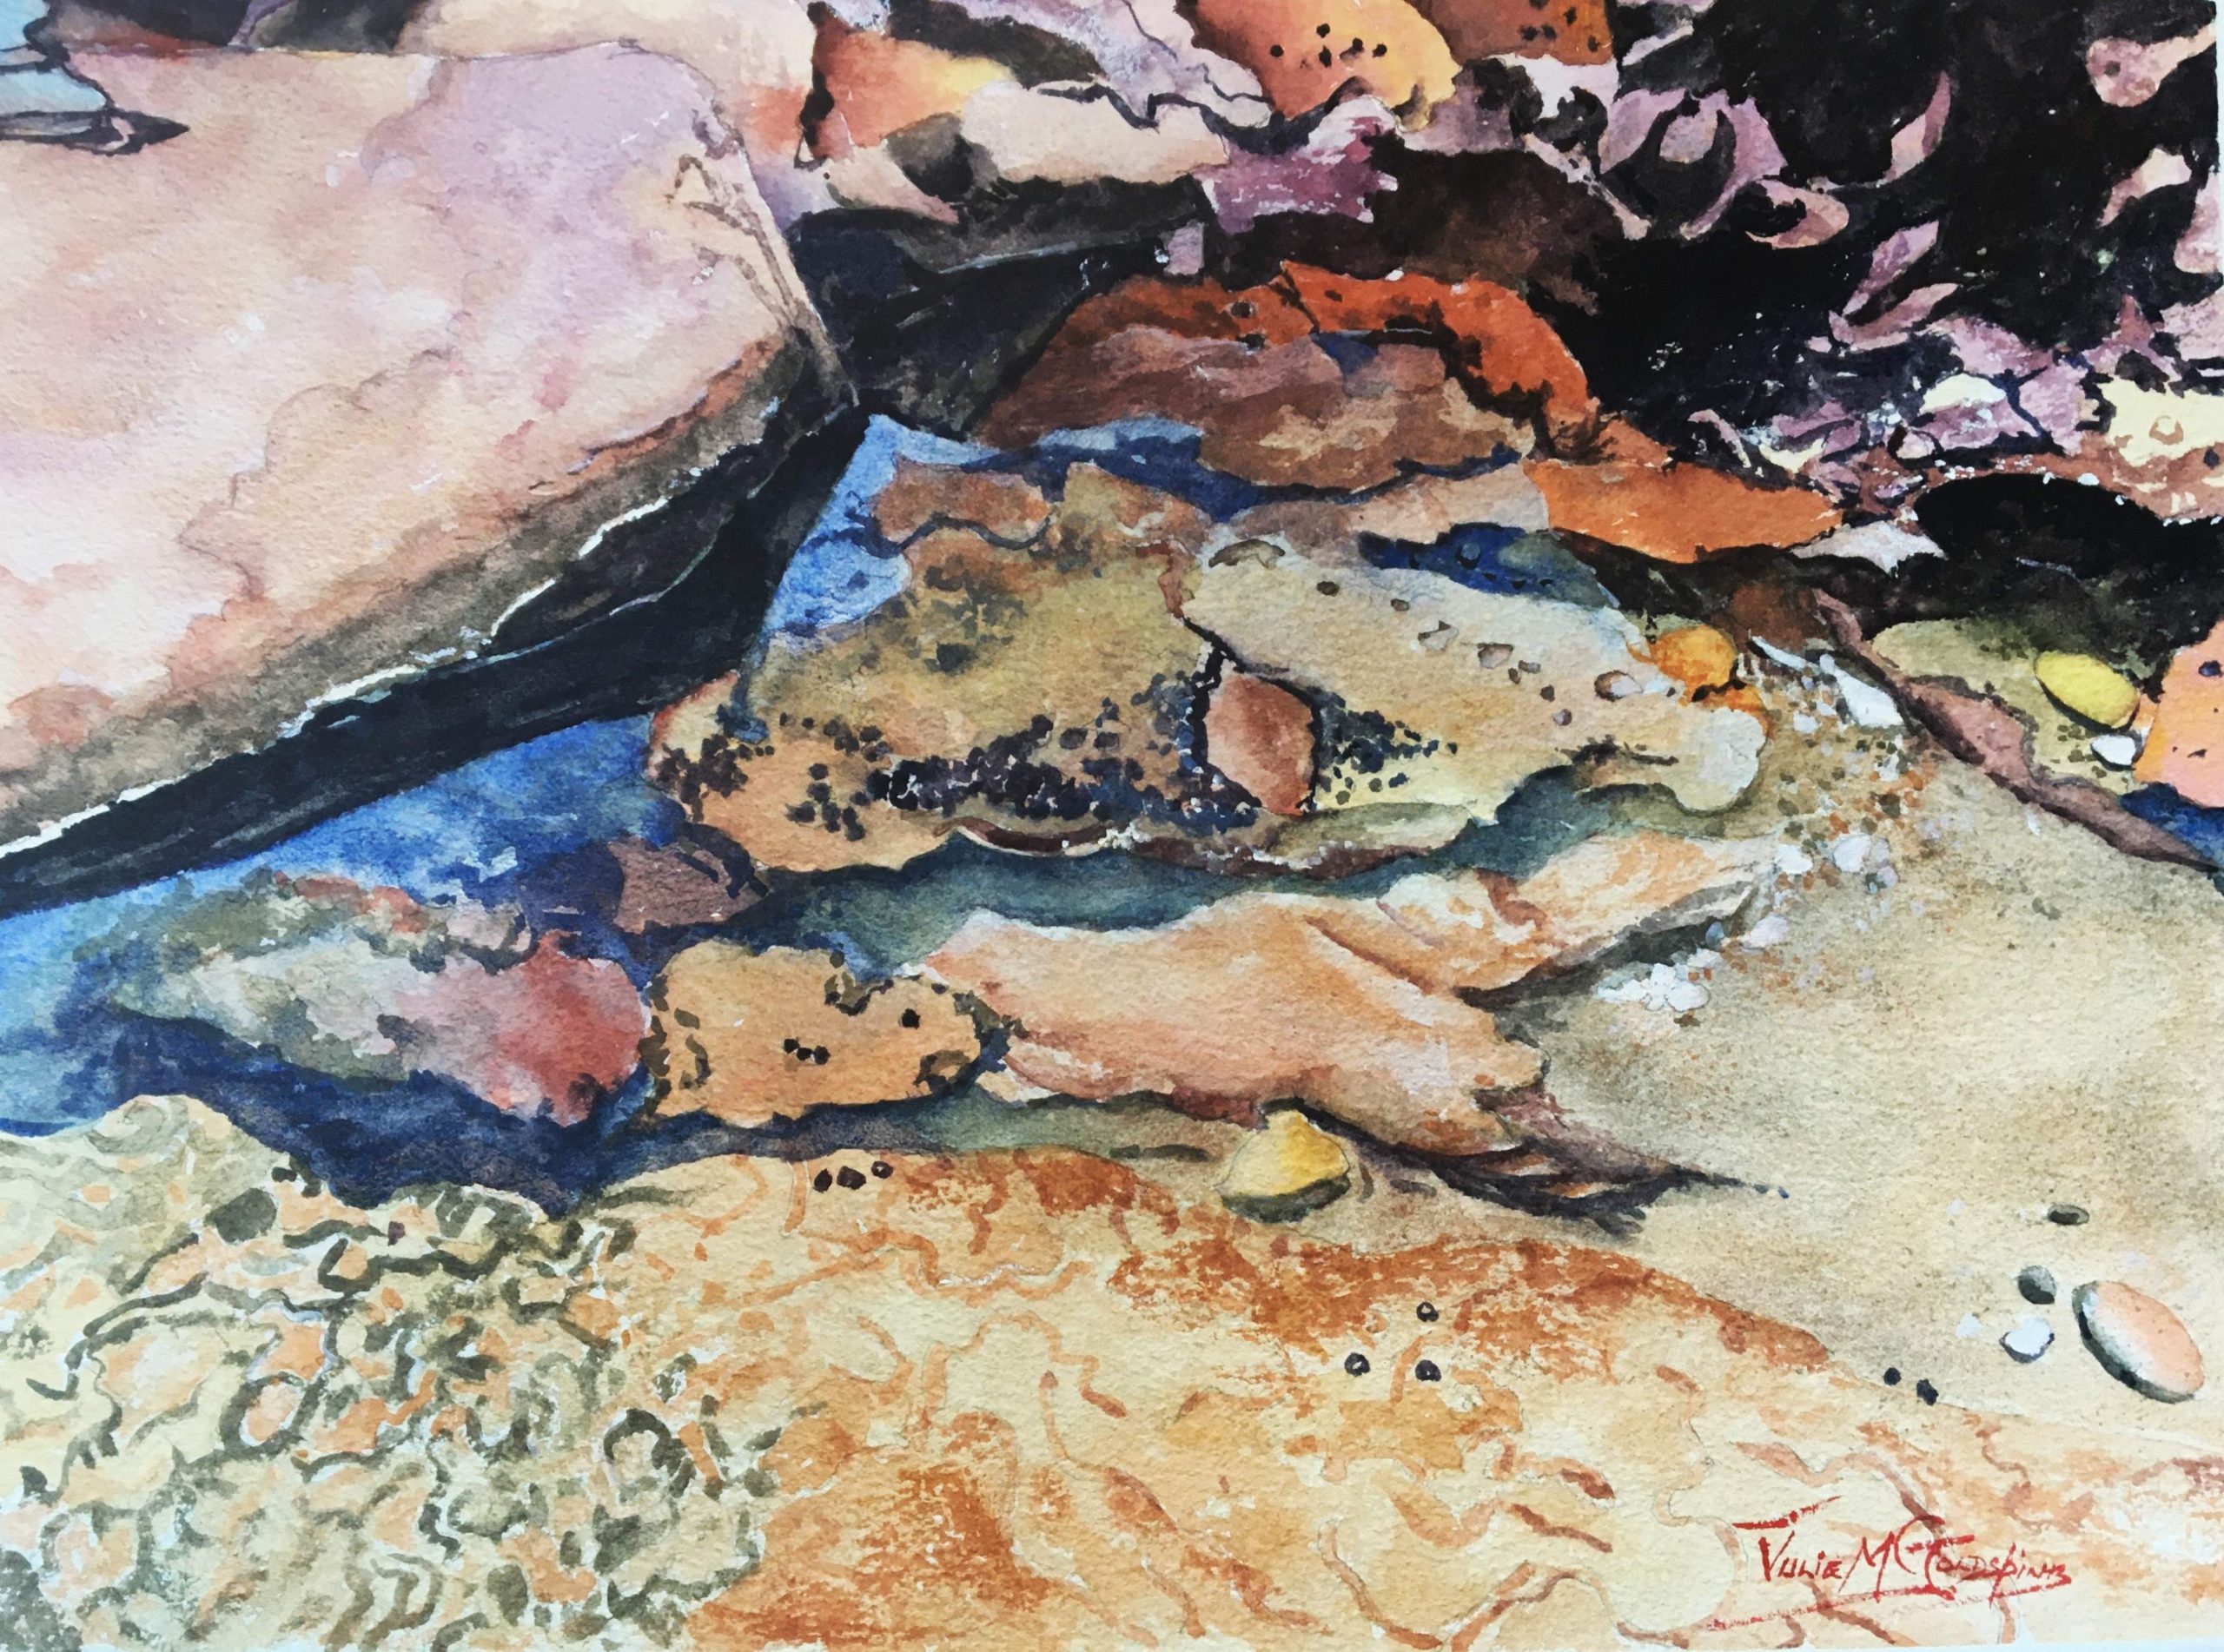
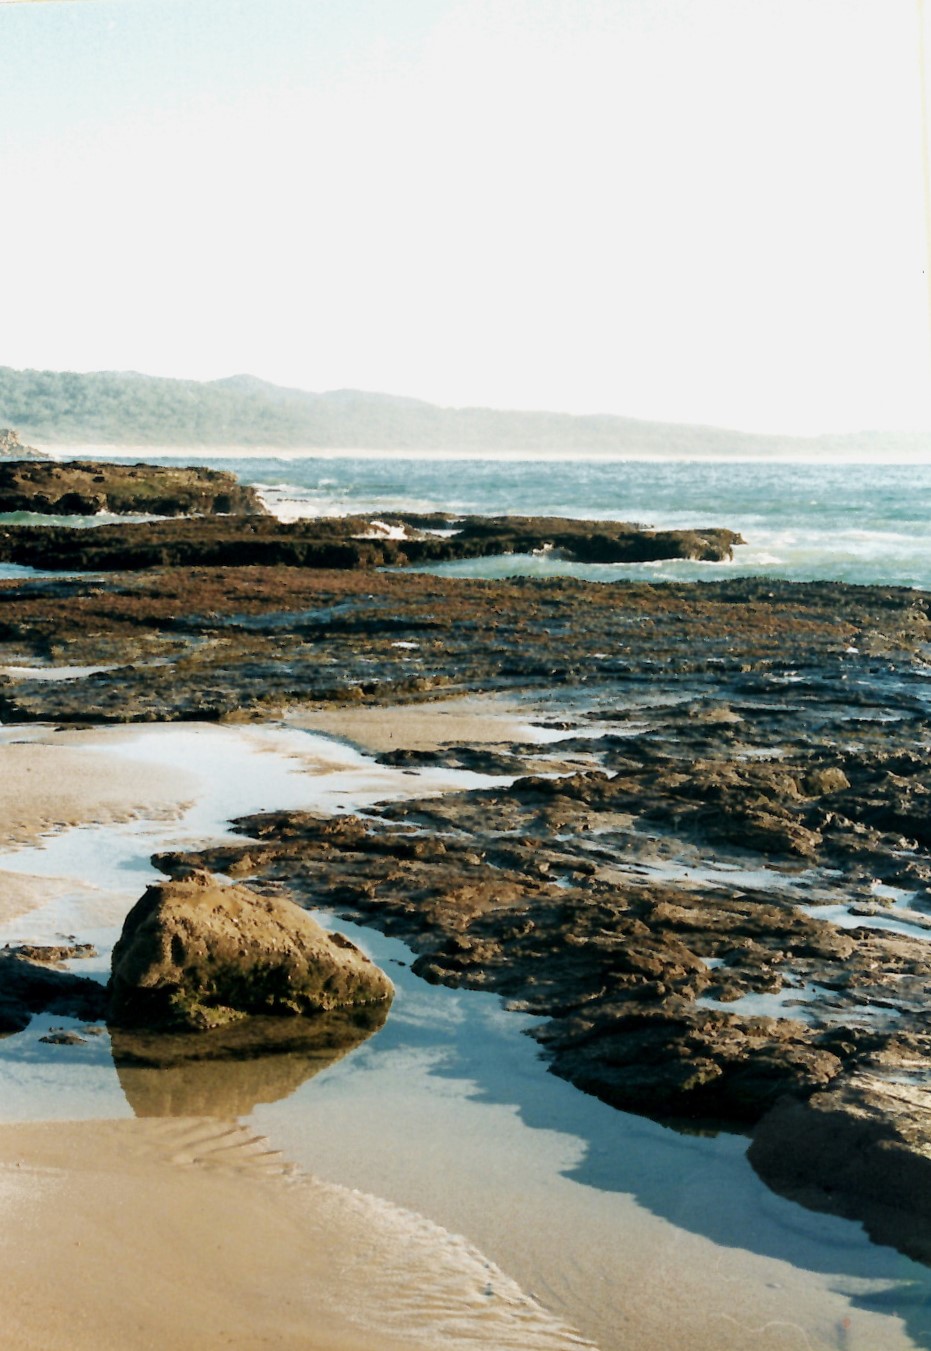
In this first Video I draw up the three Samples/Studies of a small portion of the photo to bring it up close for you to study and paint, to help you understand the different ways to treat the underwater area as well as the top of Rockpools. The three samples are 5cm x 6 1/4 cm in size but scaled up on our Watercolour paper for painting. No 1 Study is Sand, Shadow and Reflection. No 2 Study is Underwater Patterns and No 3 Study is Underwater colours and Ripples. No 3 study will continue on in Part 2 of this Course. Full Demonstration with view of Palette and colour mixing.
Lesson 6 Part 2 - Rockpools - Shadows and Reflections
In this Video I continue on with completing Sample No 3 and start the first of the two larger artworks. I go through the drawing side of the painting as well as the composition and some finer points, like the amount of detail to draw, before starting to paint. The first light washes are mixed and painted in.
The next stage continues on, in Part 3.
Lesson 6 Part 3 Rockpools, Shadows and Reflections
n this 3rd Video I continue on painting the second stage, placing on the slightly stronger blue colour into the rockpool. I then turn to even stronger thicker colours to start defining bits and pieces and try to keep my smaller white stones. I start stage three, putting in the richer colours starting at the top and slowly work my way down, as parts are very intricate and need concentration. I continue on in Part 4.
Lesson 6 Part 4 Rockpools, Shadows and Reflections
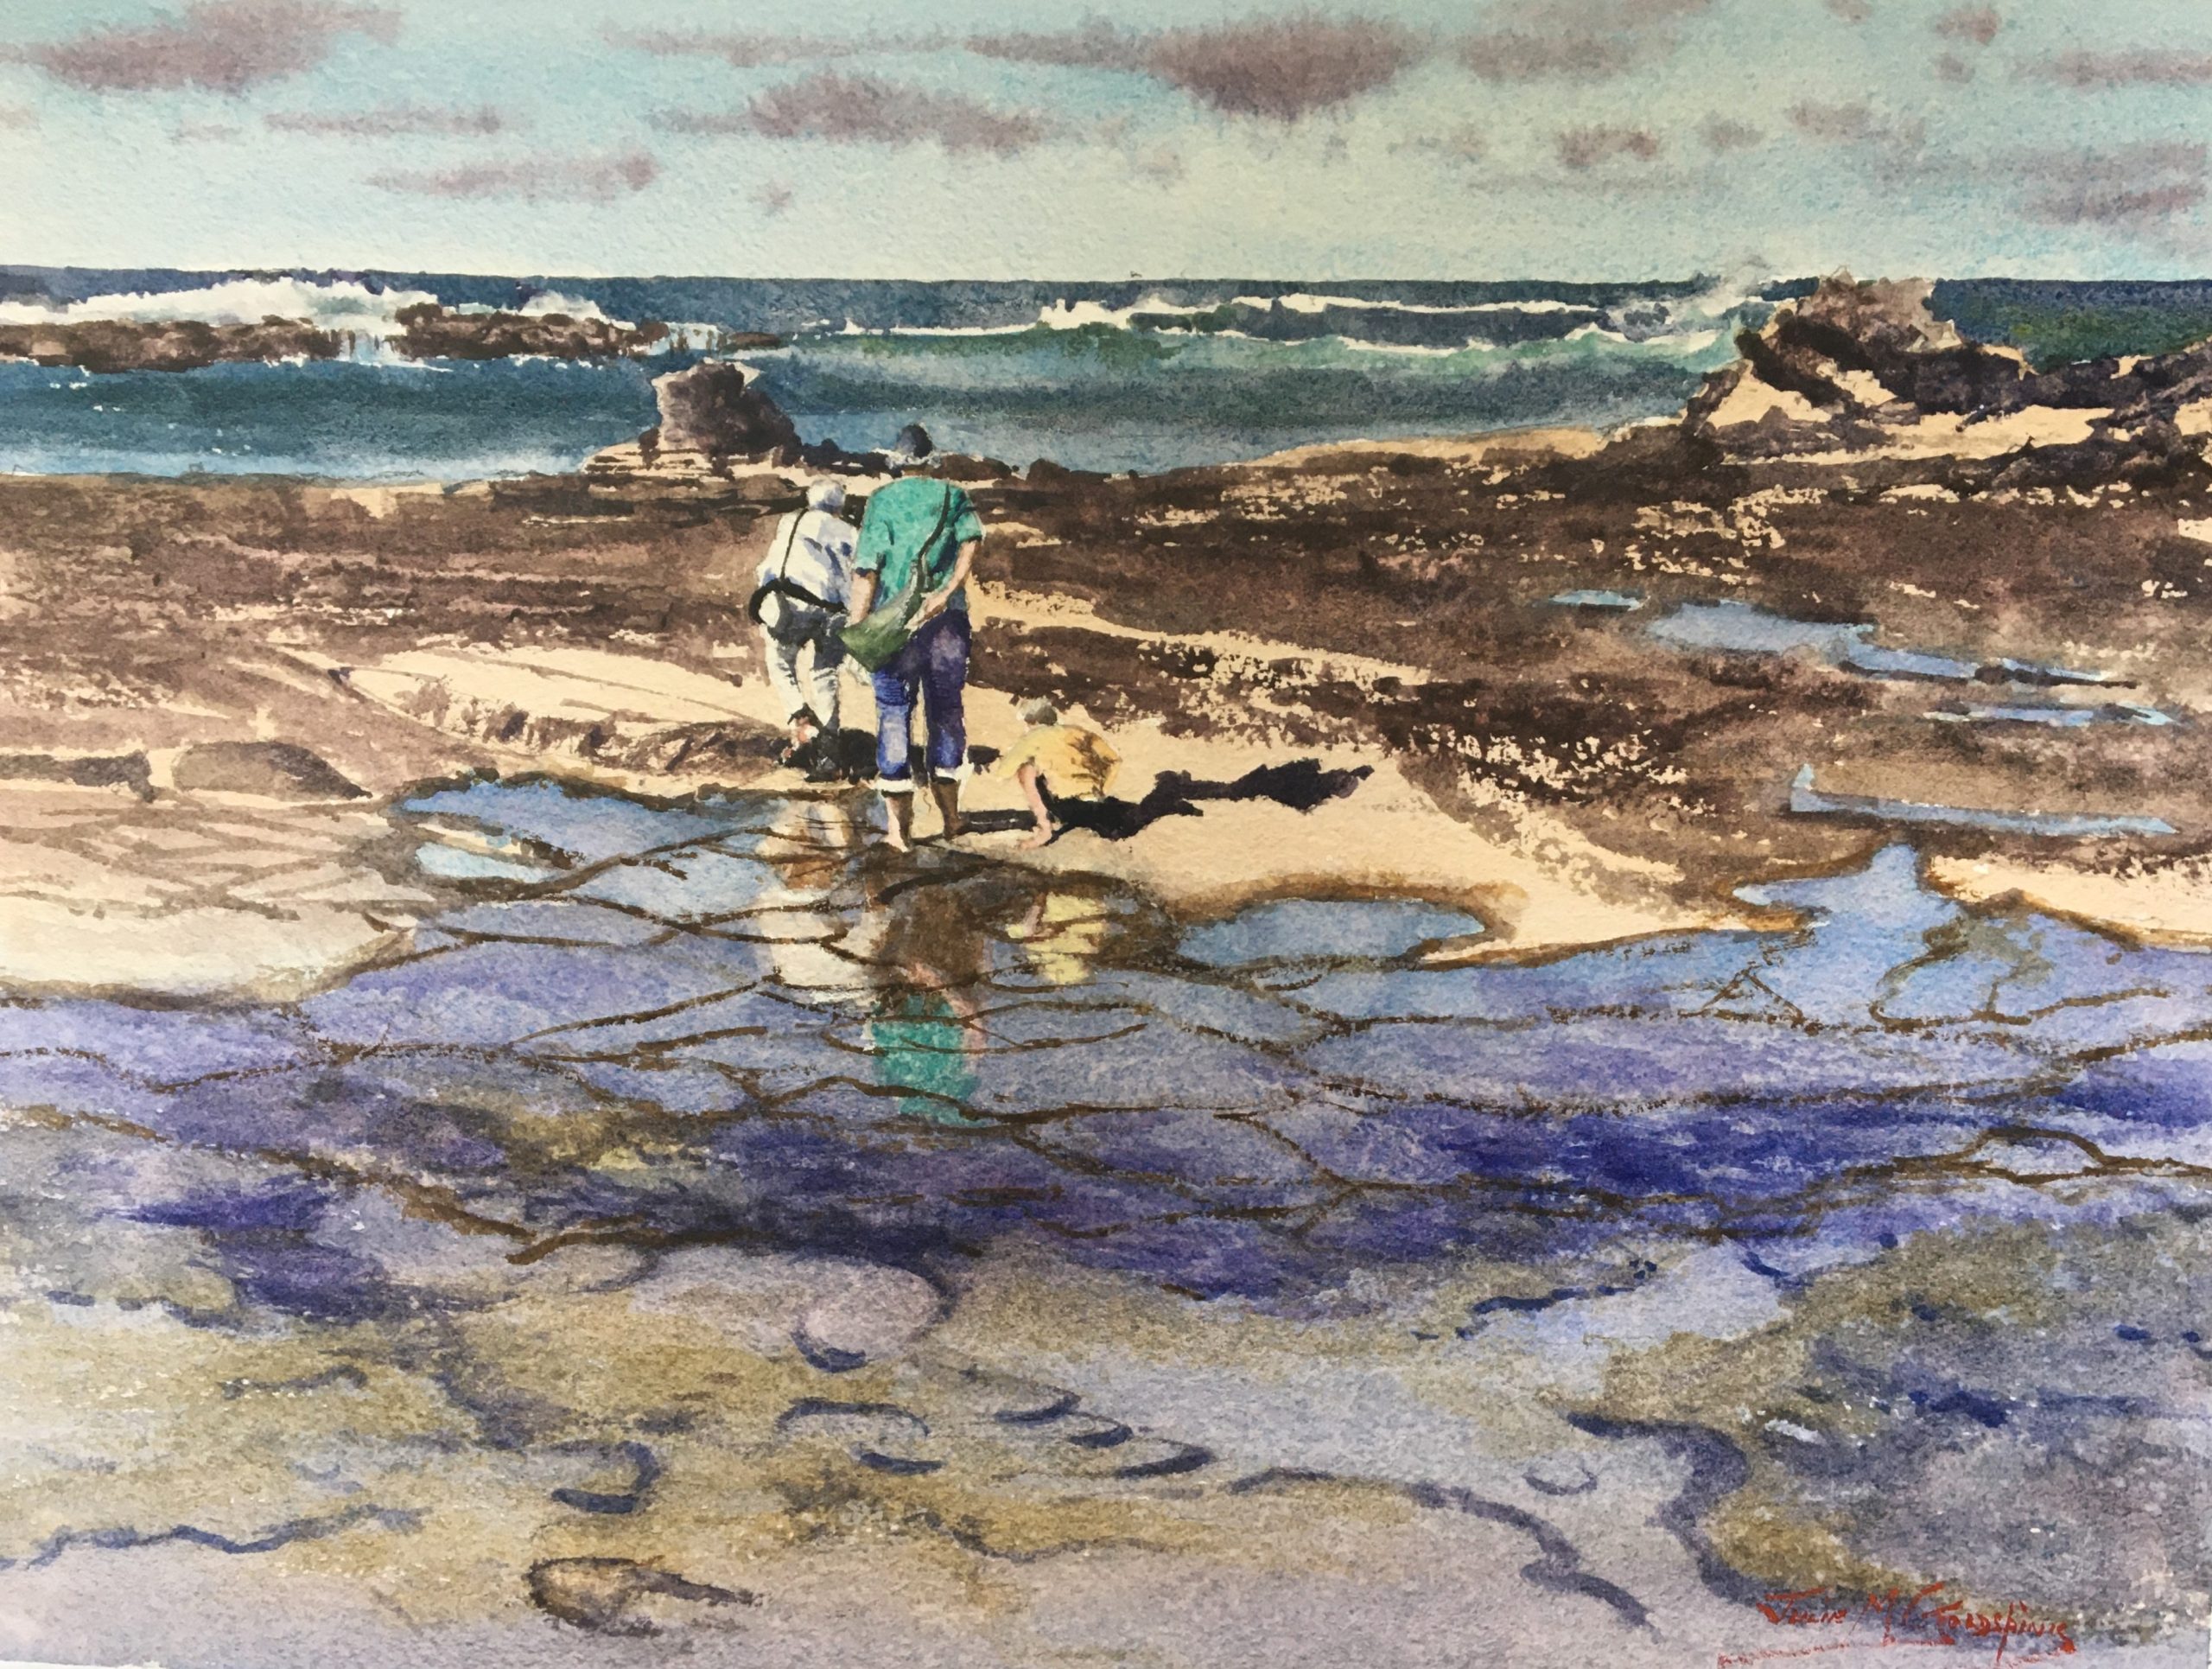
In this video I continue on down painting a lot of small details and adjust the tone of the water, using a small round brush. Then I take the time completing each part of the painting, double checking everything as I progress. I apply a small amount of spatter where applicable to finish off. I then commence the second painting, firstly discussing the composition in depth and the drawing up. Before painting I discuss the colours and then mix up the first light washes to apply. This painting is continued on in Part 5
Lesson 6 Part 5 Rockpools, Shadows and Reflections
In this Video. Now the first washes have been applied and dried off, I commence painting the ocean with a small mop or round brush. Then I continue down, painting in all the rock formations, using a dry brush technique and scratching out with a credit card to create texture, then I paint the foreground shallows and detail. Now I start on the figures and their reflections, ending with the jewellery and some spatter.