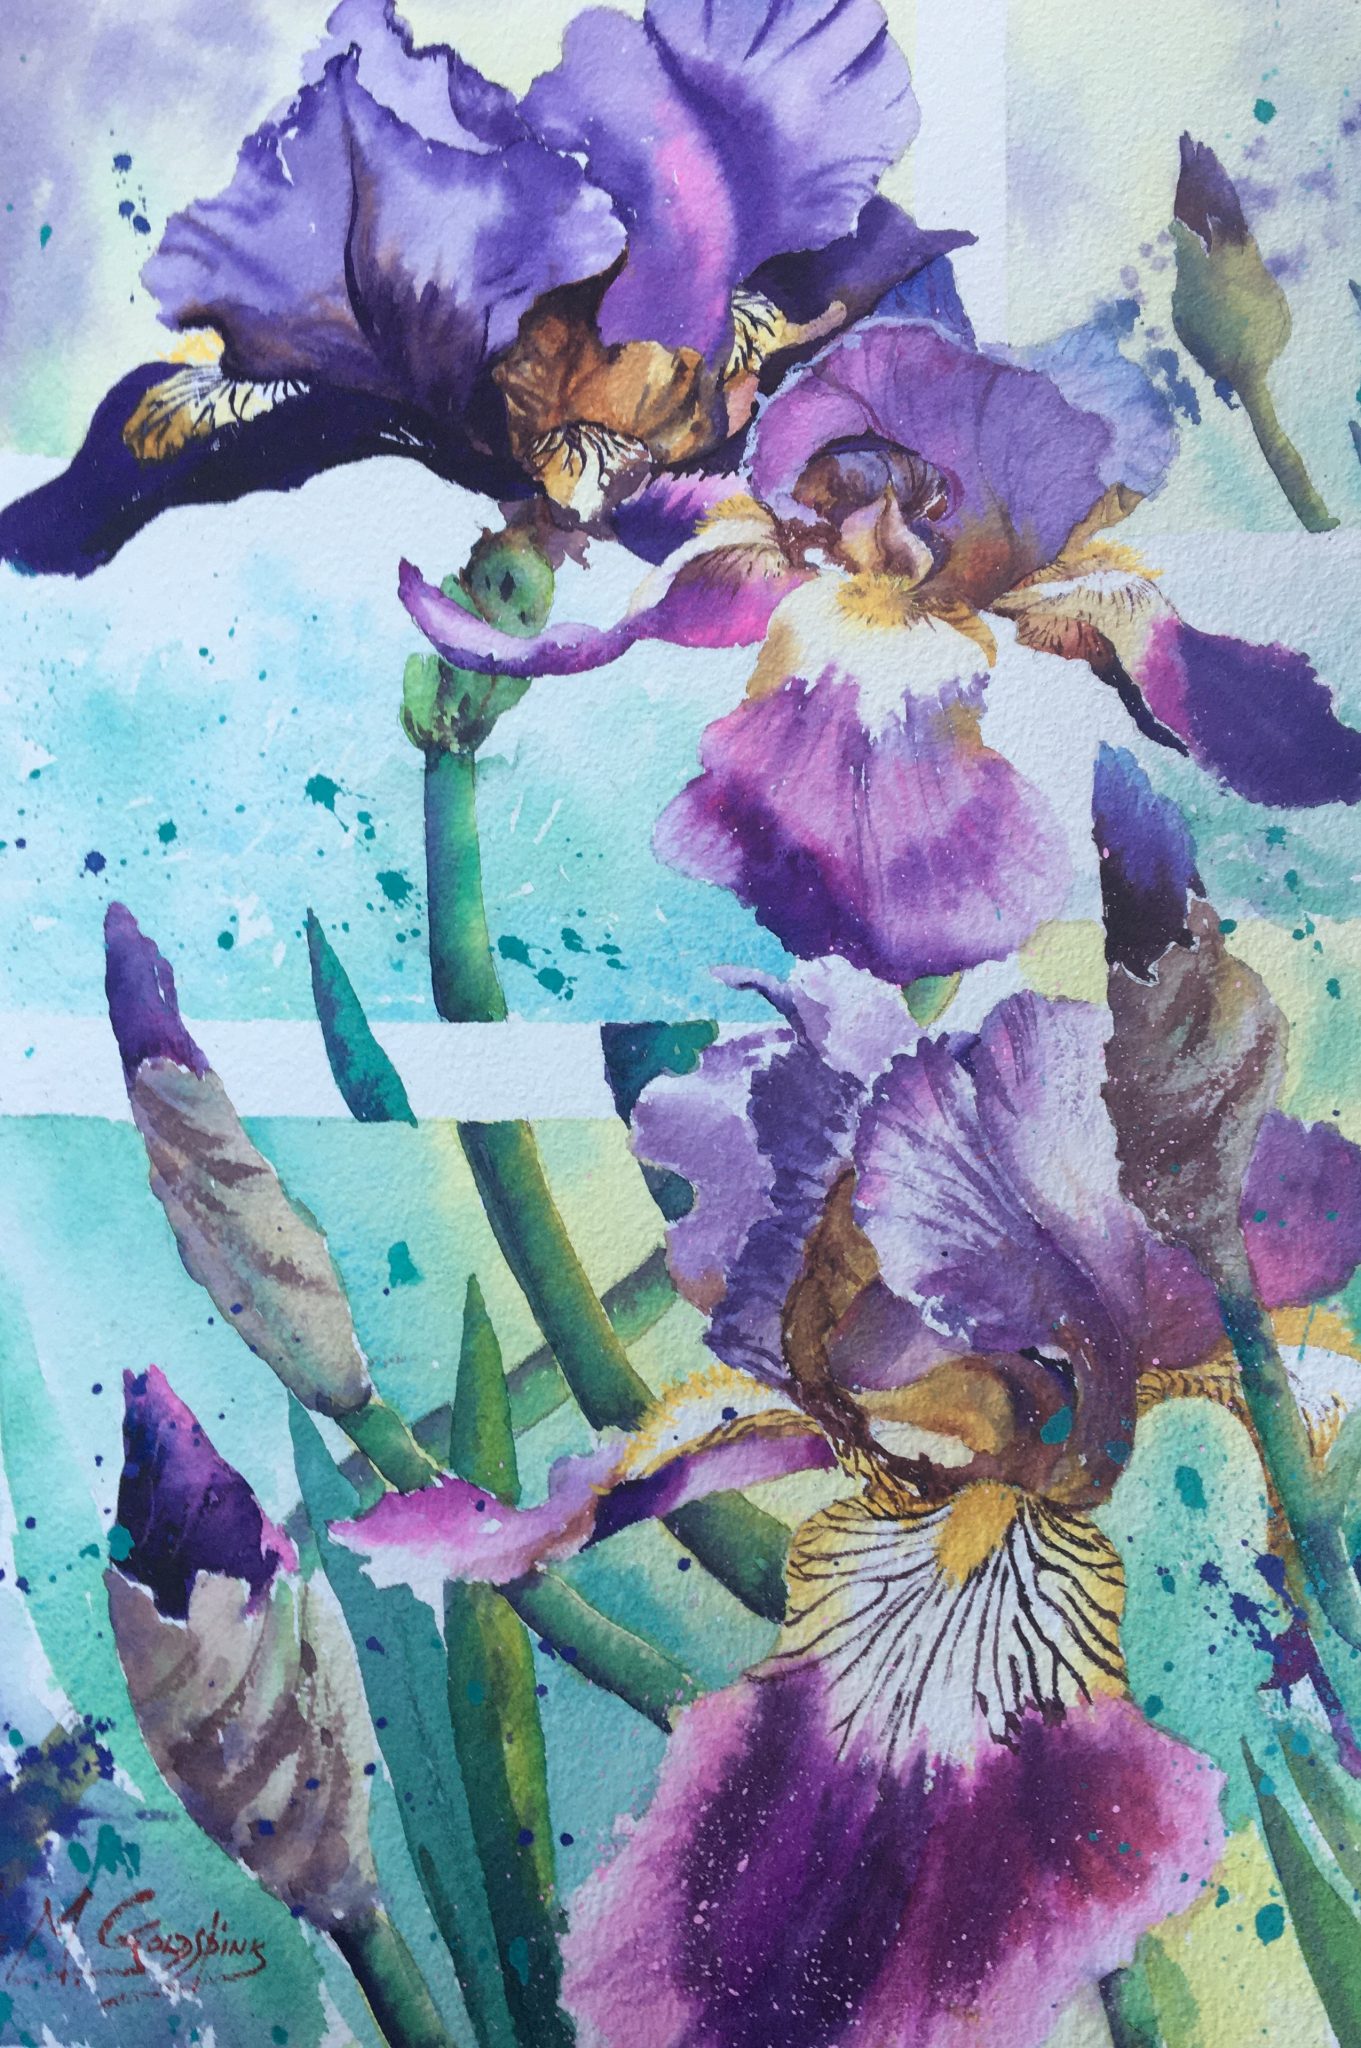
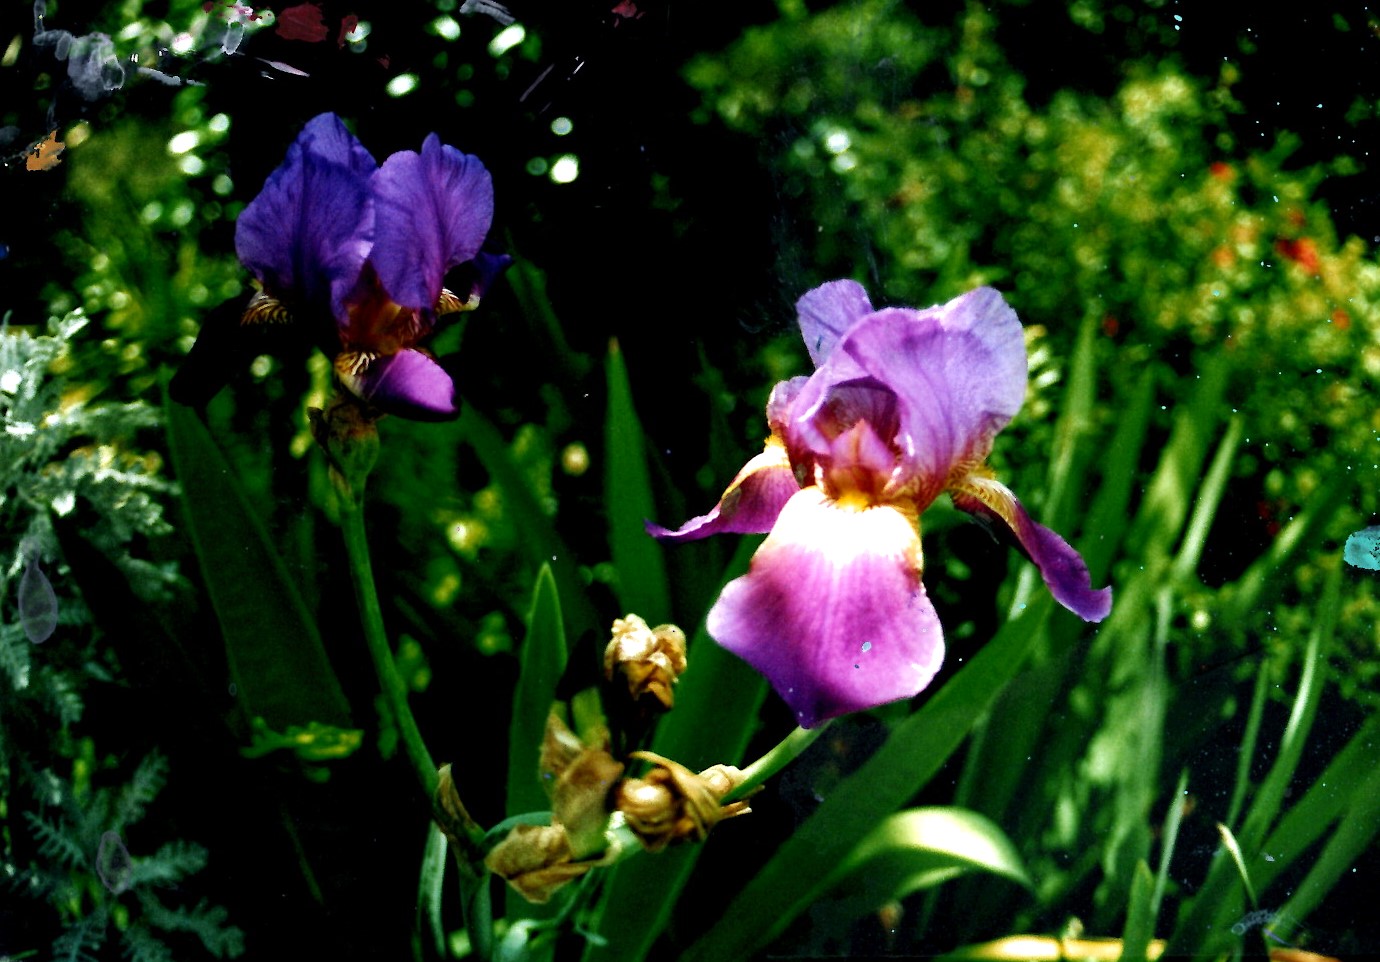
INTRODUCTION TO COURSE 5 – PURPLE BEARDED IRIS (Modern Design)
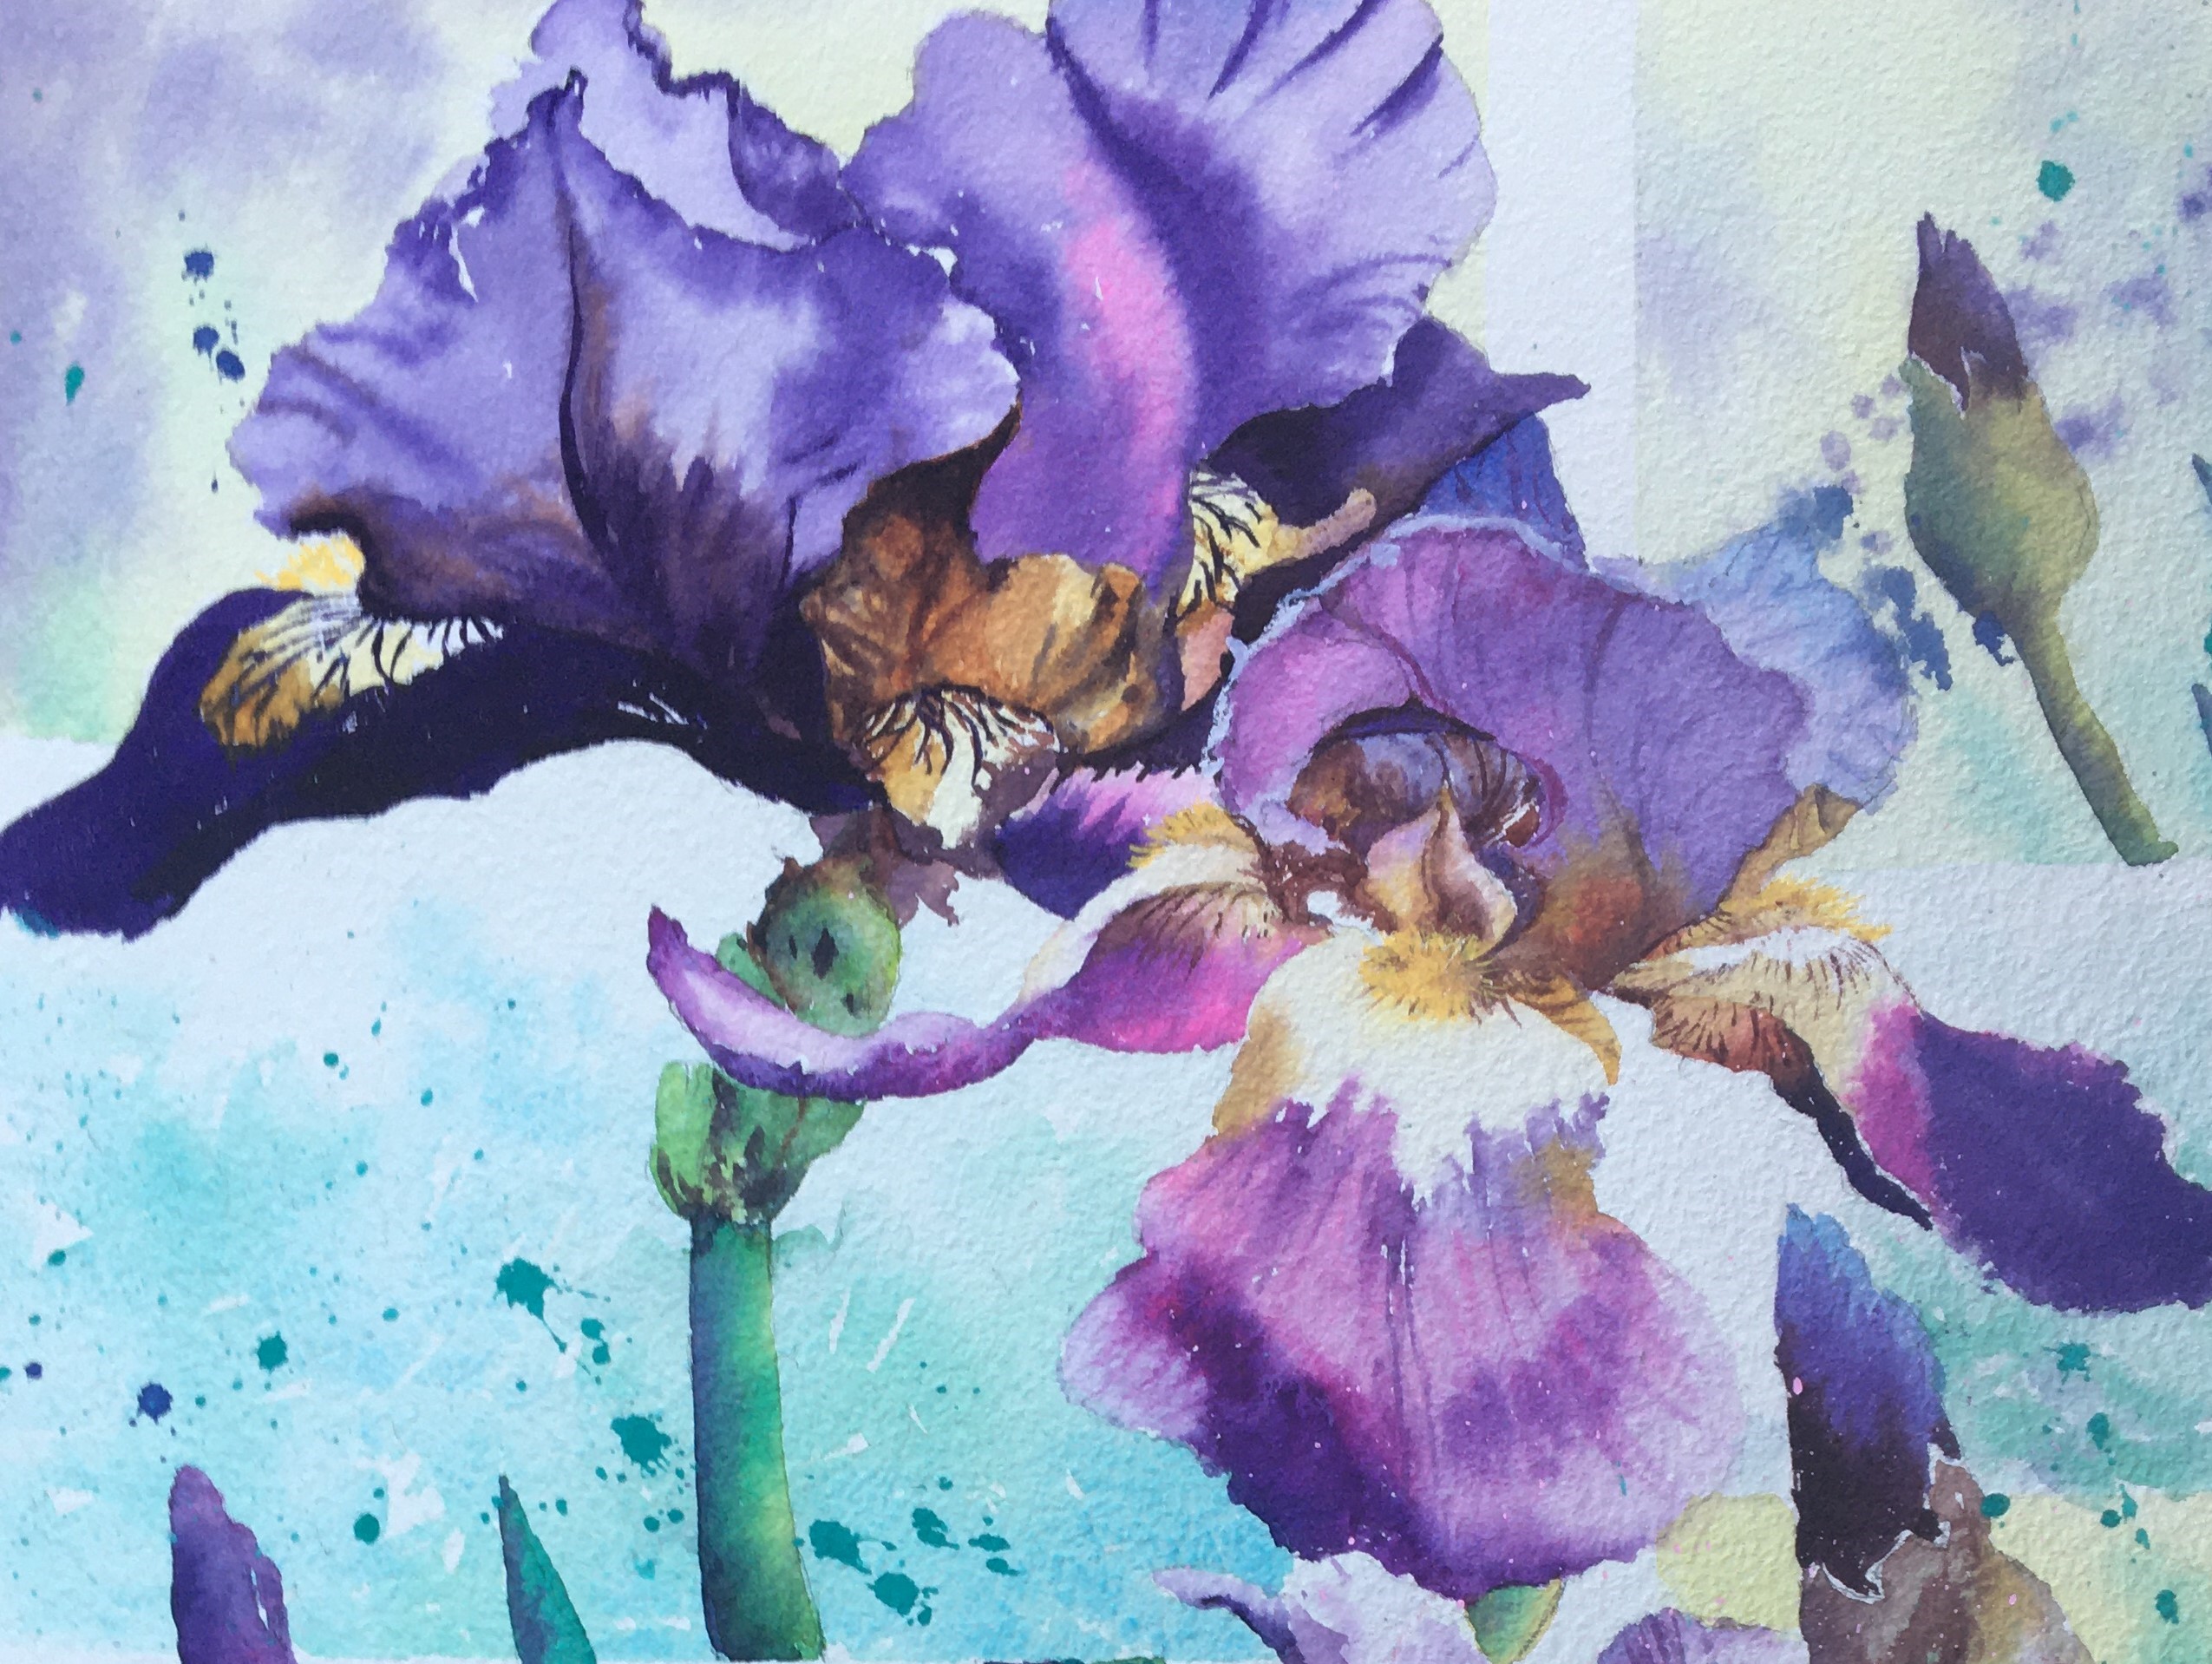
In this Exciting flower painting of purple Bearded Iris, we alter the composition to create a Modern Design instead. You can use my design or maybe create one of your own. Then you will be guided through the design process and drawing up, as we discuss all the materials, and you can watch the colour mixing in the palette as you proceed through every stage.
There is 5 hours and 15 minutes of continuous Demonstration and guidance for you to paint this modern floral painting. You have the convenience to stop, start and repeat at your desired place at any time and as often as you wish. HAPPY PAINTING!
MATERIAL LIST FOR COURSE 5 - Purple Bearded Iris
A Table Easel that won’t tip over and you can adjust the angle easily,
PAPER: I am using Baohong 300gsm Rough Stretched Block, but any artist quality 300gsm paper can be used, and taped to a backing board.
PAINT: I am using Daniel Smith colours, but any artist quality paint will be fine. Aureolin, Quinacridone Gold, Cadmium Yellow medium, Opera Pink, Quinacridone Coral, Alizarin Crimson, Quinacridone Burnt Scarlet, Manganese Blue Hue, French Ultramarine, Carbozole Violet, Lavender, Phthalo Green B.S. WN White Designer Gouache, for tinting.
OTHER: 2B Mechanical Pencil, Steel Ruler, a piece of Test paper like your painting paper, 1-inch neutral colour Masking tape for your design work and 1/2inch tape to go around the edge of your painting. Fine mist water bottle, Large Box of Tissues, ½ old Credit card for scratching out, an old hard Toothbrush for Spattering, a large Bath towel to place under all your equipment plus a couple of old Tea towels and a hair Dryer.
HAPPY PAINTING!
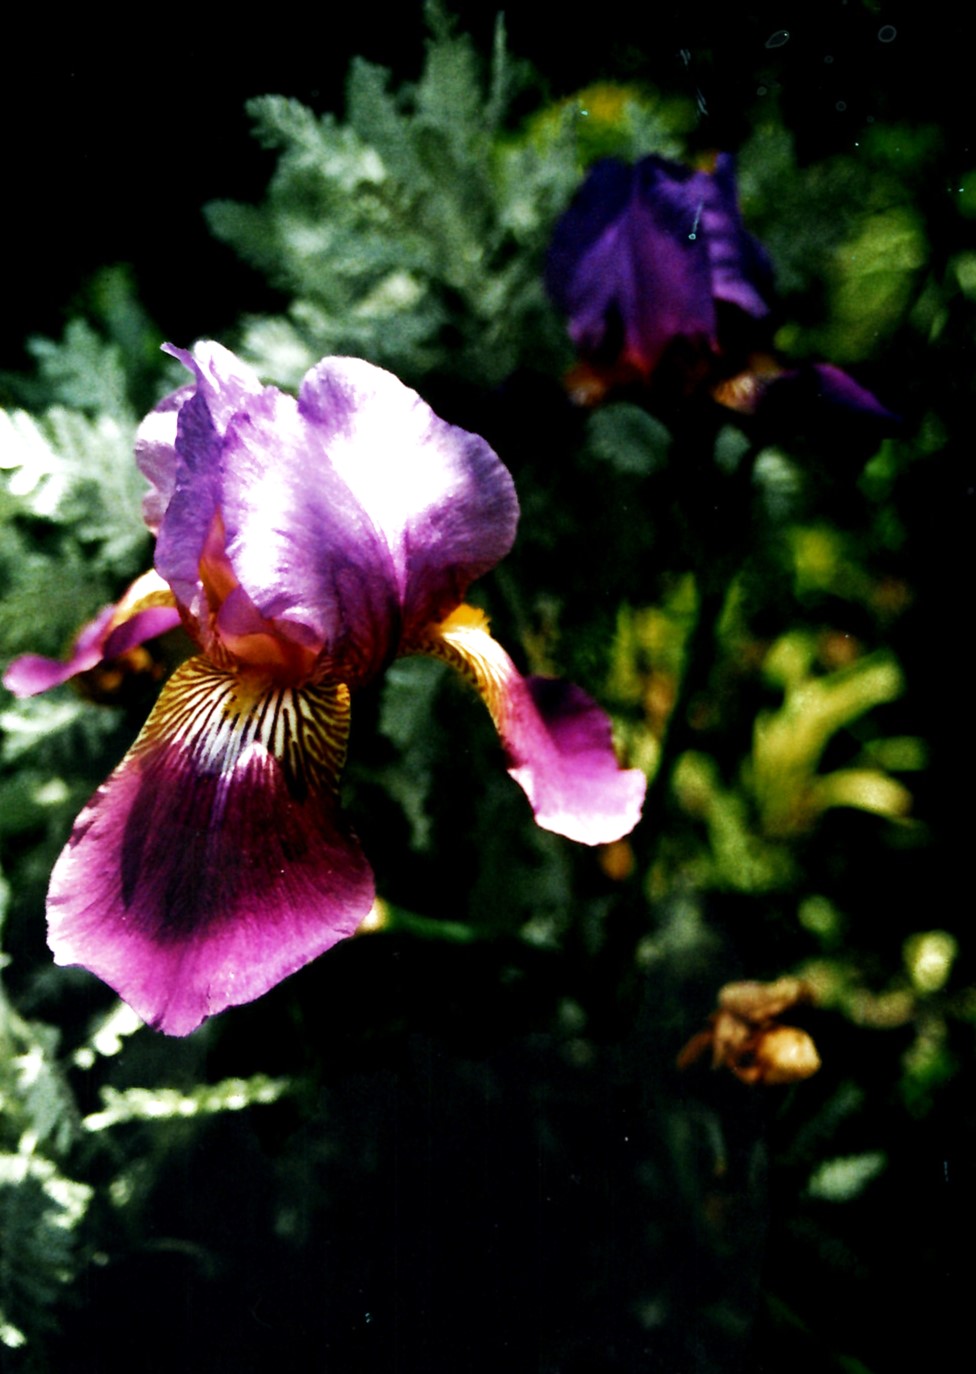
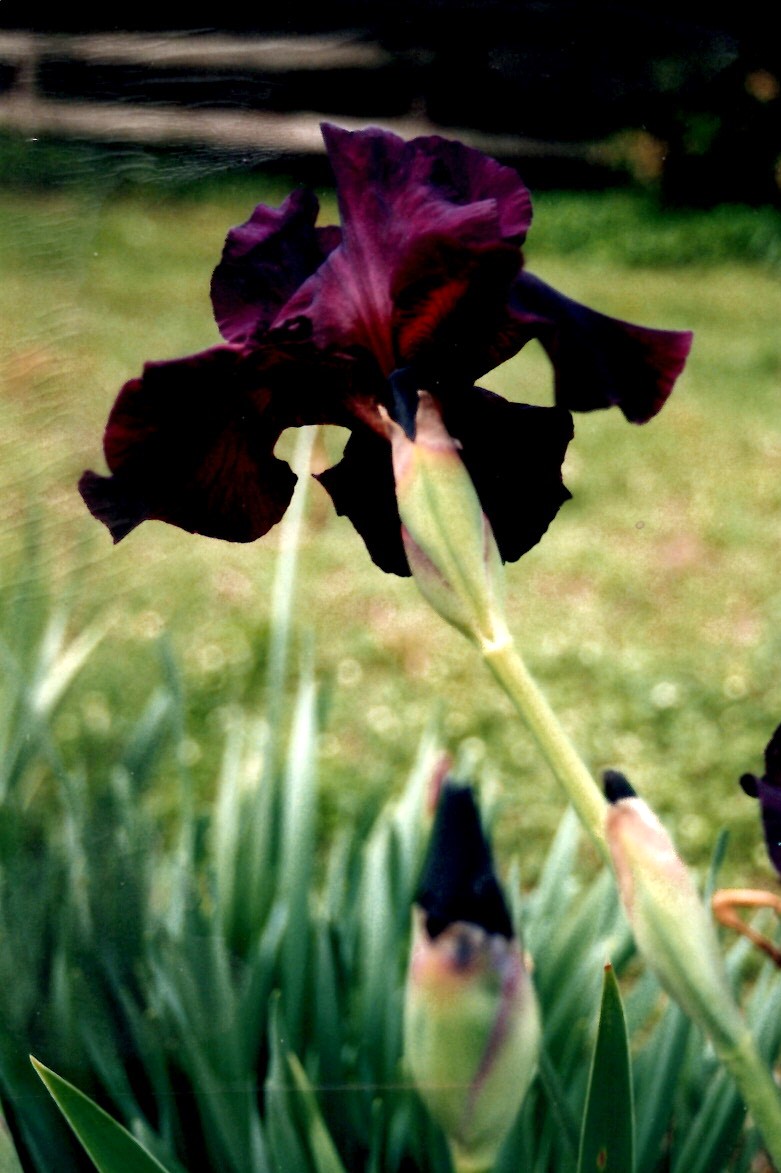
Video 1 In this first video, I discuss my choice of colours and other materials you might need. Choosing a composition from multiple photos and direction of light. Show you creative alternatives for a modern design and drawing up. Starting painting with your background colours, plus top flowers.
Video 2 In this second Video I continue on, painting down the paper, doing the flowers, buds and leaves with my instruction of colours, brushes to use, and colour mixing all the way through. I continue on in Part 3.
Video 3 In this third video, I continue on painting the Flowers and adding the final touches to everything plus doing a little spatter where needed and then summarize the finished painting, to make sure everything correct, adjusting where I need to.
A quick note of importance.
I'm sure you know but just in case you aren't aware , please remember that all teaching videos and studies done in any class (not just Julie's) are for educational purposes only. What does that mean? The teacher/artist is showing their method, thoughts, and learning, allowing a student to try it to test and become familiar with the concept, the process or idea. It therefore is not the student's original thought or creation and must not be reproduced or presented as their own creation. That would be a breach of copyright. It is a courtesy to sign it on the back as your study of ... the teacher's name by your name.
This is one of the first signs and way of honoring the original unaided creations of an artist. The same respect will be given to any artist who signs their name on an artwork. It is the signature that claims it as their original creation.
I look forward to you moving forward from these lesson studies, using the concepts learned, adding them to your own ideas and discoveries and creating your own personal artwork. It's a fun thing and keeps creatives hooked on the possibilities that each of you can make.
Happy painting......